Appearance
Exercise 1 - Build & Modify Your Agentforce Agent Topic
Background
Topics help define the capabilities of an Agent and serve as a container for instructions and actions. They enable Agents to use relevant instructions and actions for a given point in a conversation. Another way to think of it is that Topics are a “Job To Be Done.” As a builder, Topics provide a mechanism to define and configure the scope of what an Agent can handle.
Topic Instructions
Instructions are “prompts,” written in natural language, that guide the Agent on how to best use the actions to perform the job within its Topic scope. Instructions are mapped to a Topic and are configurable to provide more granular control over the Agent.
Here are some guidelines for Instructions:
- Clear, Detailed, Direct: To get the best results, instructions should be clear, detailed, and direct. It is recommended that you provide context based on the nature of the task you want the instruction to handle.
- Provide examples: To help the Agent better understand what you're asking for, provide examples or sample inputs and outputs.
- Avoid ambiguity: Be as specific as possible when providing instructions. Avoid ambiguous language that can lead to misinterpretation.
As you build Topics, a good mental model is to define instructions last. Build out the required Topic fields (name, description, scope) and add associated actions, then begin testing the Topic. Incrementally add instructions to guide your Agent to execute the Topic and select actions in the desired manner in an iterative build+test loop. (For purposes of our enablement, we will do the opposite today.)
Agent Actions
Actions are the tools to do the job. Actions are added to Topics to limit Agents to only use the relevant tools for a given job-to-be-done. For more information, refer to Best Practices for Instructions.
Example Topic
Below is an example of a Topic and its relevant instructions and actions.
Topic:
Meeting Notes ManagementClassification Description:
Your primary responsibility is to create meeting notes, identify potential opportunities based on the content of the notes, and create corresponding opportunity records or other similar requests where you need to create Salesforce records.Scope:
Your job as an agent is to infer what type of record the User is asking you to
create, and ensure that you have all of the input parameters to create the
proper record or records. You can also create multiple records from one User
input. Infer opportunity details, account name, products & services to position,
and contact information. Apart from the notes record, ALWAYS ask the user before
you create any of the records.
Instructions:
If the User is viewing or referencing another record other than the account,
contact, event, lead, or opportunity, then you must ask the User for the correct
Account, Contact, Lead, Event, or Opportunity.
Do not ask the User for the Note Body. Instead, you should respond with
something like, "Sure, what would you like me to note down?" or "Sure, let me
grab that note for you" or "Sure, let me assign that task for you" or something
similar.If the User asks you to take a note and provides the context of that note in the
same initial input, then do NOT ask them again what you want to note down. You
should use what the User provided to create the note.Actions:
- Get Record Details
- Identify Record by Name
- Label a Record
- Query Records (Beta)
Step 1: Create a new Agentforce Topic
We will modify a pre-existing Agentforce Agent in this org to tailor it to be able to capture meeting notes and create related records identified in the meeting notes. \
At the top-right, click the Setup icon and select Setup.

In the quick find box, search for Agentforce Agents, then click Agents.
Scroll down to the Agentforce (Default) agent. We have just a single agent here, but this is where we can see all of our internal and external agents (e.g. Service Agent etc). Drill into this agent by clicking on the agent name.
Click the Open in Builder button.
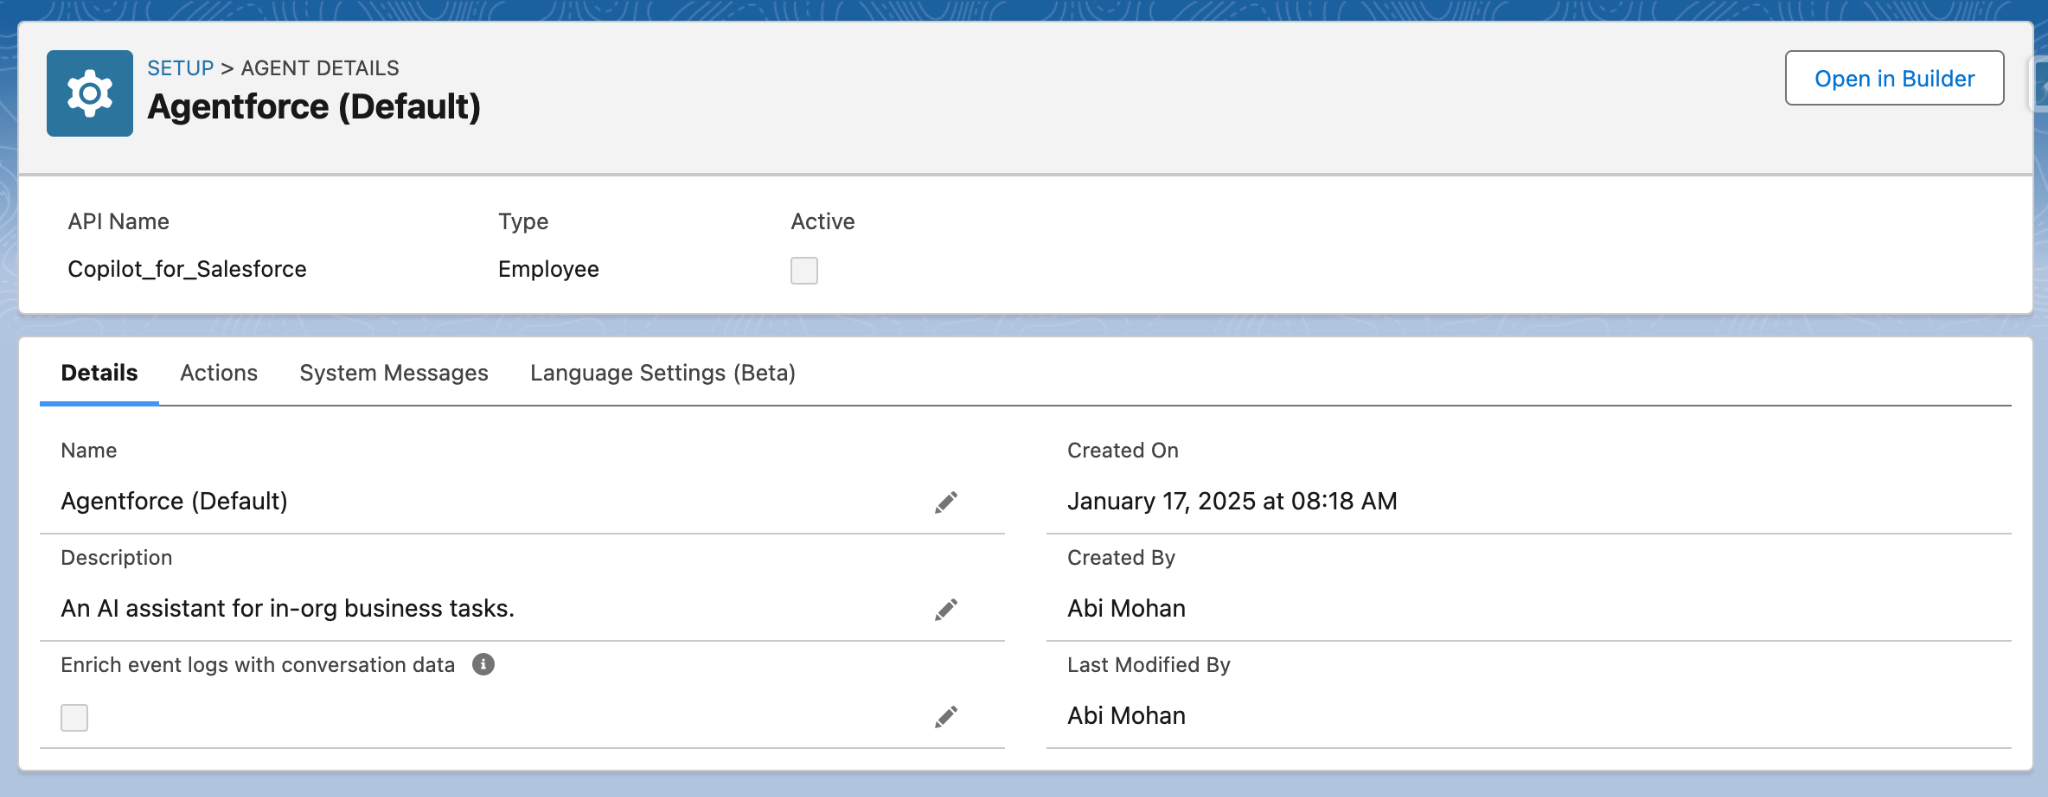
You should see a screen like this.
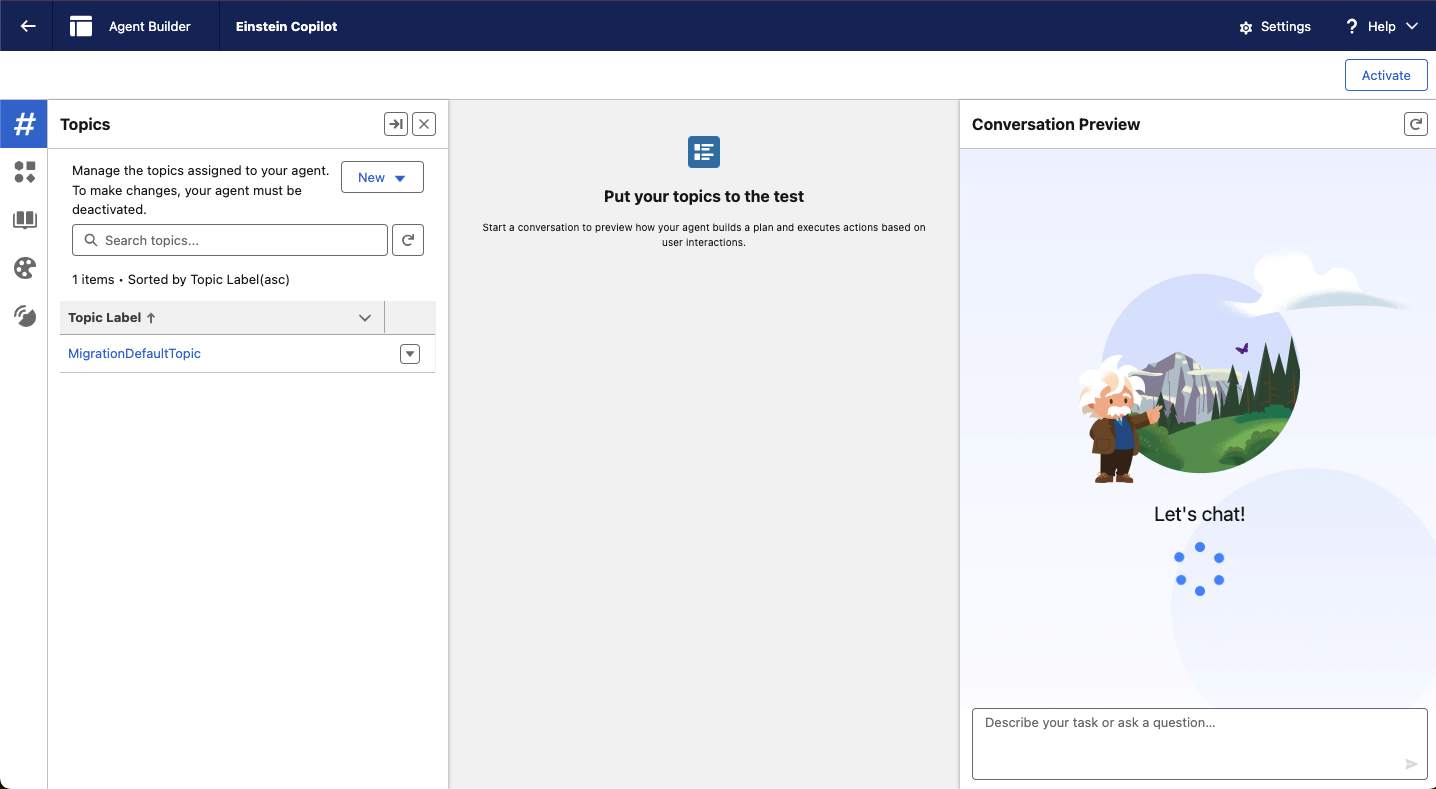 The Agent Builder is split into 3 columns:
Left: This section is where you work with Topics, Actions, Knowledge, Language Settings, and Event Logs.
Right: This section is where you will start a conversation as a user and interact with the Agentforce Agent to test your work.
Center: This section is where you preview how your Agentforce Agent builds a plan and executes actions based on the user interactions.
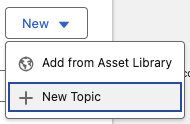
From the Topics tab, click the New button icon and select New Topic.
On the next screen, enter the details below:
Topic Label:
Meeting Notes Management- Classification Description:
This Agent's primary responsibility is to create meeting notes, identify potential opportunities based on the content of the notes, and create corresponding opportunity records **only after obtaining user confirmation**.- Scope:
Your job as an agent is to infer what type of record the User is asking you to
create, and ensure that you have all of the input parameters to create the
proper record or records. You can also create multiple records from one User
input. Infer opportunity details, account name, products & services to position,
and contact information. Apart from the notes record, ALWAYS ask the user before
you create any of the records.- Instructions:
Trigger Phrases: If the user says: “create a note,” “take a note,” “jot down a
note,” or similar — always create a Note.- Click Add Instructions.
- Enter the following:
No Asking for Titles or Subjects

Do not ask the user for a title (note) or subject (task).

Auto-generate a 30-character summary based on the user’s input.- Click Add Instructions.
- Enter the following:
	Note Body Handling

If the user already includes the note content in their request (e.g., “Take
note: Met with Chris…”), do not ask again.

If not provided, ask gently with:

"Sure, what would you like me to note down?"

"Got it. What should I include in the note?"- Click Add Instructions.
- Enter the following:
Displaying Results

After creating any record (note, opportunity, etc.):

Show all relevant fields (e.g., title, body, stage, close date)

Make the record name clickable (use the provided URL, never show raw IDs)- Click Add Instructions.
- Enter the following:
Creating Opportunities

If user confirms, infer and include:

Account name

Products/services

Amount

Suggested close date

Then create the opportunity.- Click Add Instructions.
- Enter the following:
Opportunity Logic – STOP and ASK First

If you detect mention of products/services, amounts, or timing:

 Do not create the Opportunity yet.

 Do not assume the user wants it.

→ First ask:

"Would you like me to create an opportunity for this potential project?"

Only If Confirmed

If the user says yes, then create the Opportunity.

Include inferred details: Account, products/services, amount, close date.- Click Add Instructions.
- Enter the following:
Record Association (Identify Record by Name)
Always use "Identify Record by Name" with object API: Account, Contact,
Opportunity, or Lead.
If a valid object isn’t identified, ask the user to clarify:
"Can you specify the Account, Contact, Lead, or Opportunity this note should be
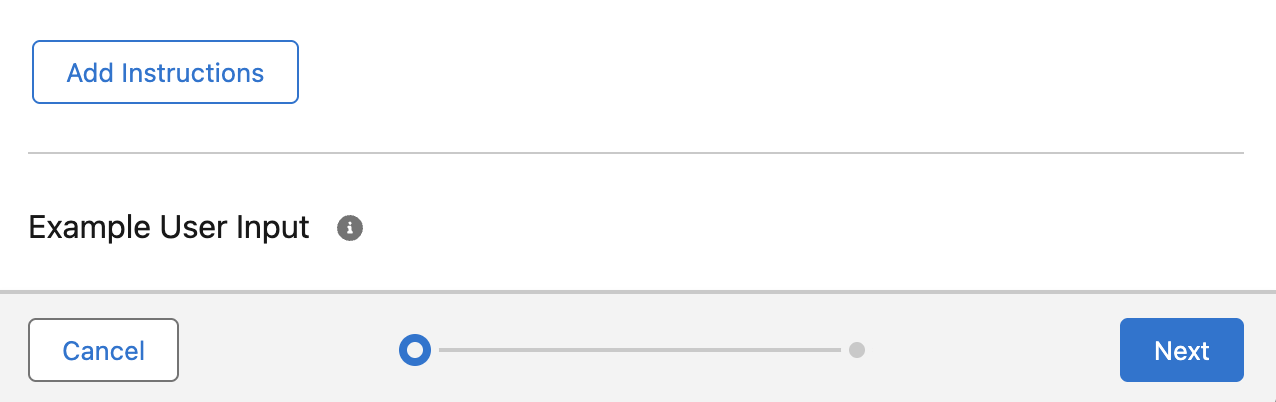
linked to?"Click Next.
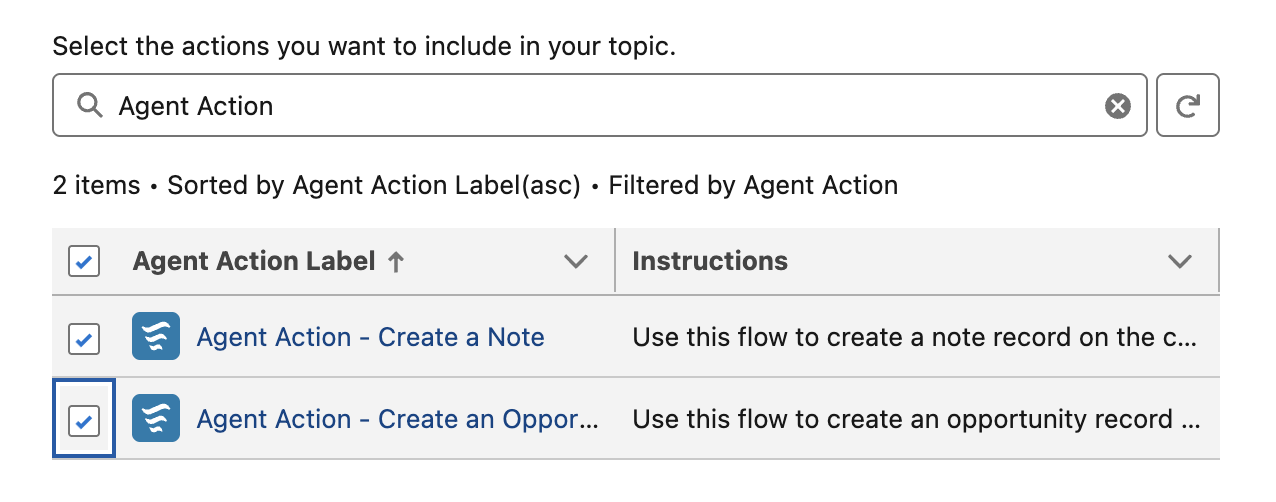
In the quick find box, search for Agent Action and Select:
- Agent Action - Create a Note
- Agent Action - Create an Opportunity
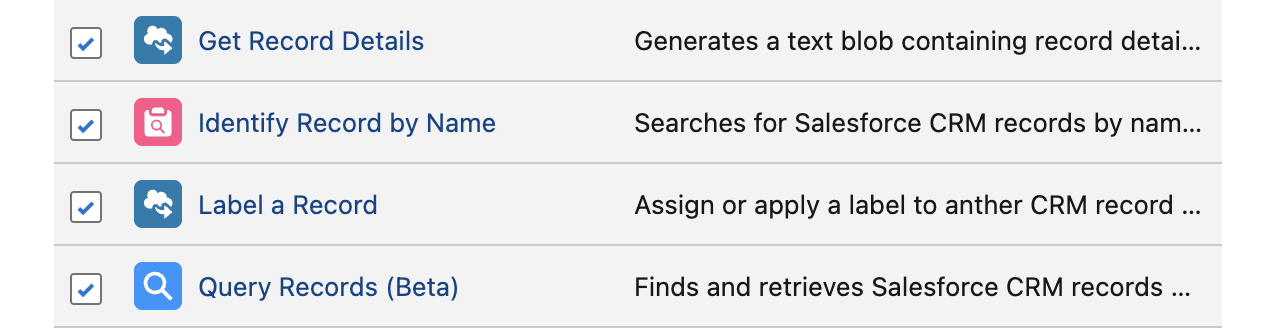
Search for Record and Select:
- Get Record Details
- Identify Record by Name
- Label a Record
- Query Records (Beta)
Search for Object and Select
- Identify Object by Name

- Identify Object by Name
Click Finish.

Click the Meeting Notes Management Topic Label in the left hand column.
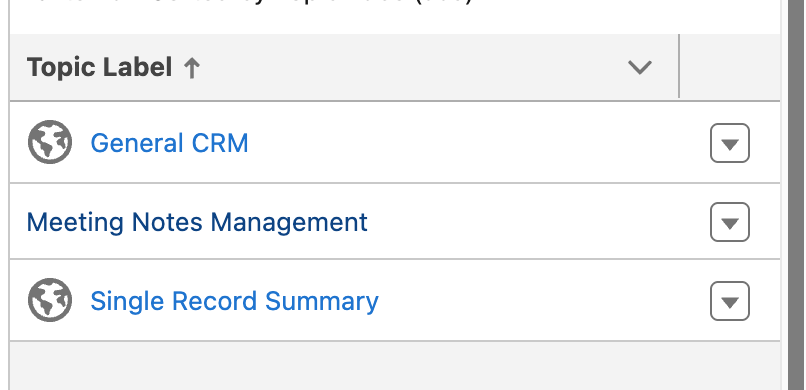
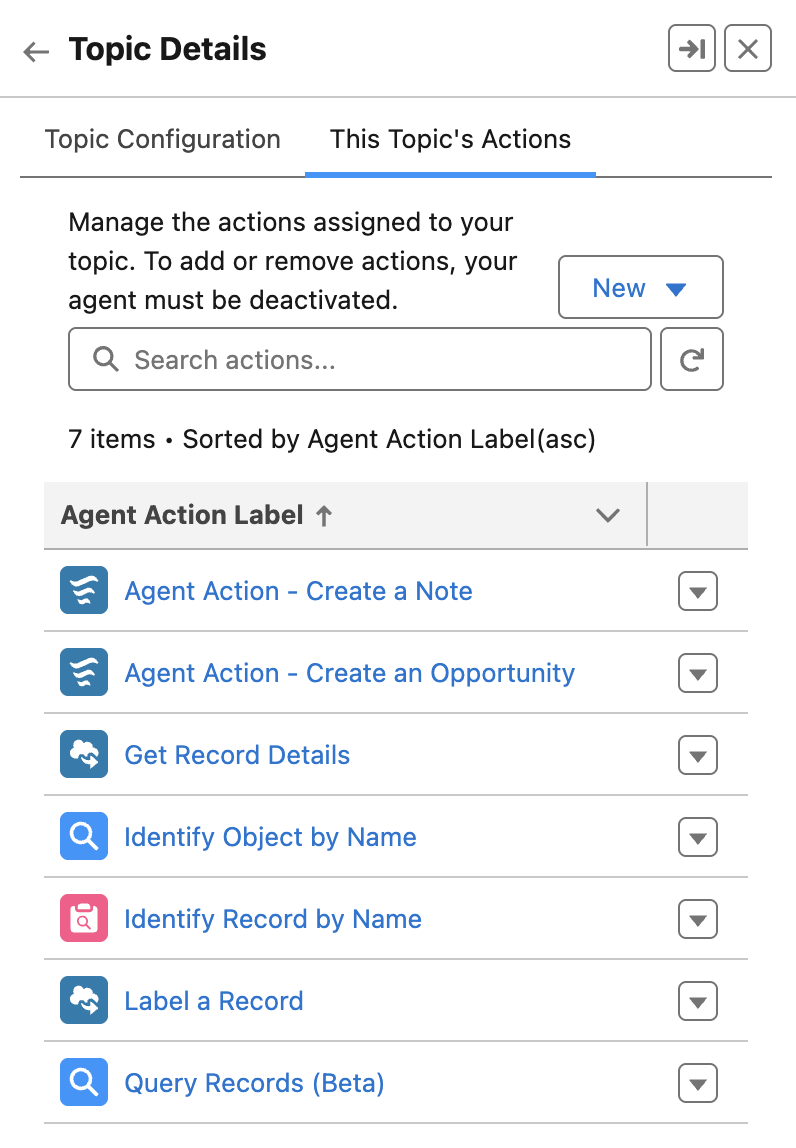
Click This Topic’s Actions.

Your “This Topic’s Actions” Should include the following actions:
Step 2: Let’s Test Your Agent!
- While in Agent Builder, click the refresh icon at the top right of the Conversation Preview text box (NOT THE BROWSER REFRESH ICON).

- Test what you’ve just created using the Conversation Preview.
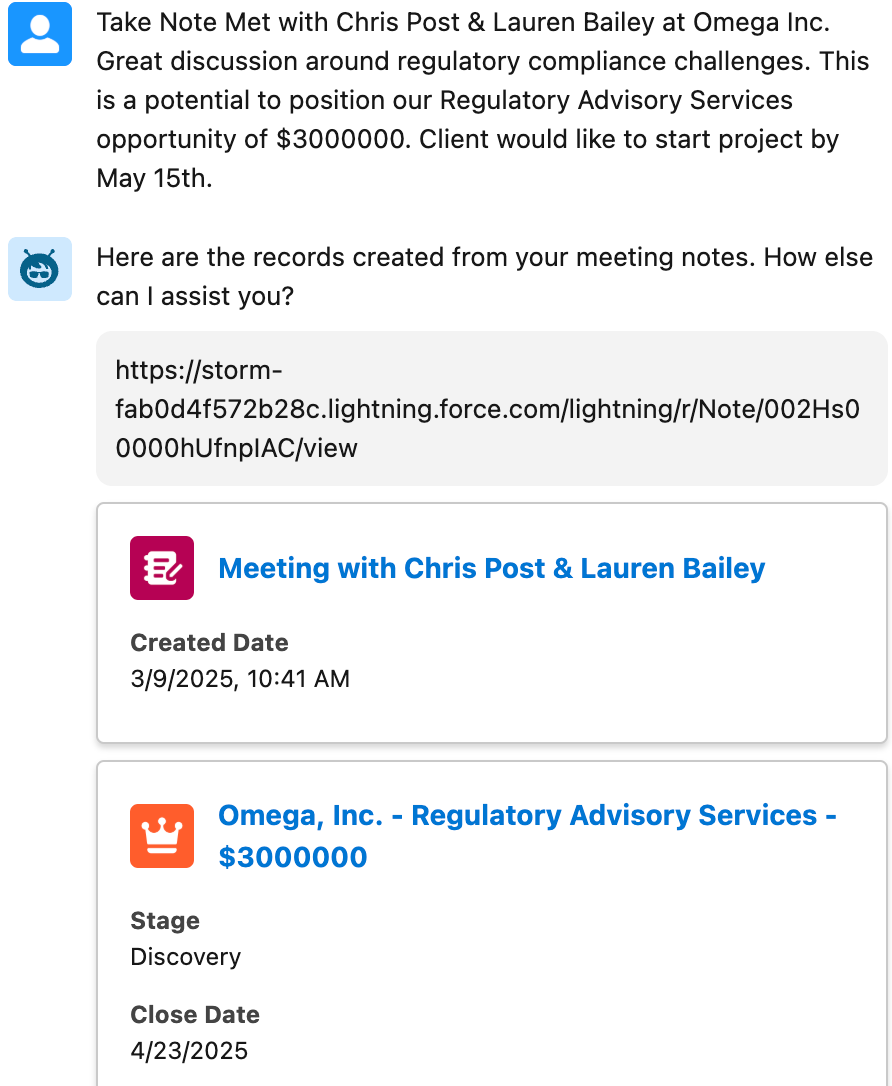
- Enter the following:
Take Note Met with Chris Post & Lauren Bailey at Omega Inc. Great discussion
around regulatory compliance challenges. This is a potential to position our
Regulatory Advisory Services opportunity of $3000000. Client would like to start
project by May 15th.- The response should look like this.
Step 3: Activate your agent
- Click the Activate Button on the top right corner of the page.

- Click the Back button on the top left corner of the page.

- Click on the App Launcher button at the top left corner of the page and then click on Sales


- Click on the Agentforce Icon on the top right corner of your app

- Test your Meeting Notes Action again by entering the following:
Take note, I met with Mark Metz, CEO of Advanced Communications. We discussed current regulatory changes in Life sciences. He is very interested in learning more about how we can help. This is a potential 10 million dollar deal.- Navigate to the record created and review the details.
This concludes Exercise 1.