
Appearance
Exercise 3 - Increase Agent Functionality
Step 1: Create a New Prompt Template
At the top left of Agent Builder, click the Back arrow (not your browser back button)

If you get a warning about changes not being saved, go ahead and click Leave anyway
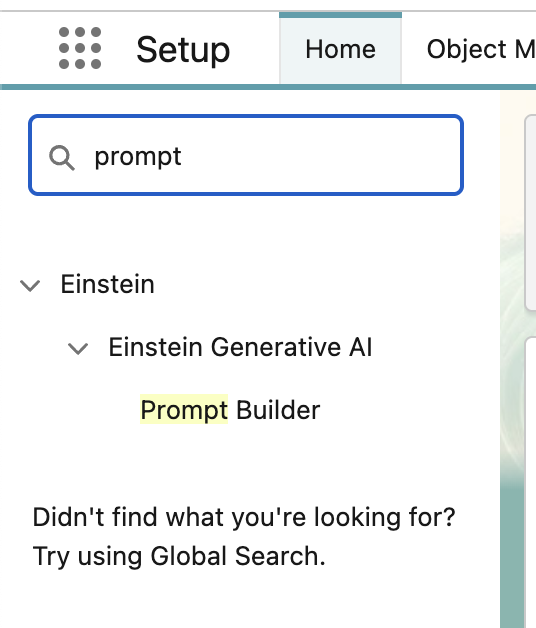
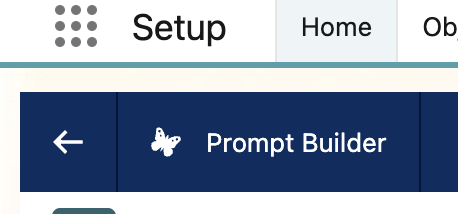
In the Quick Find box at the top left, search for Prompt and then click Prompt Builder.
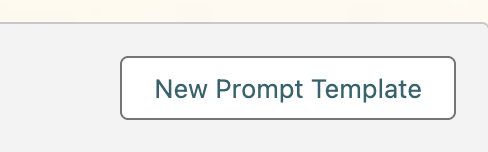
At the top-right, click the New Prompt Template.
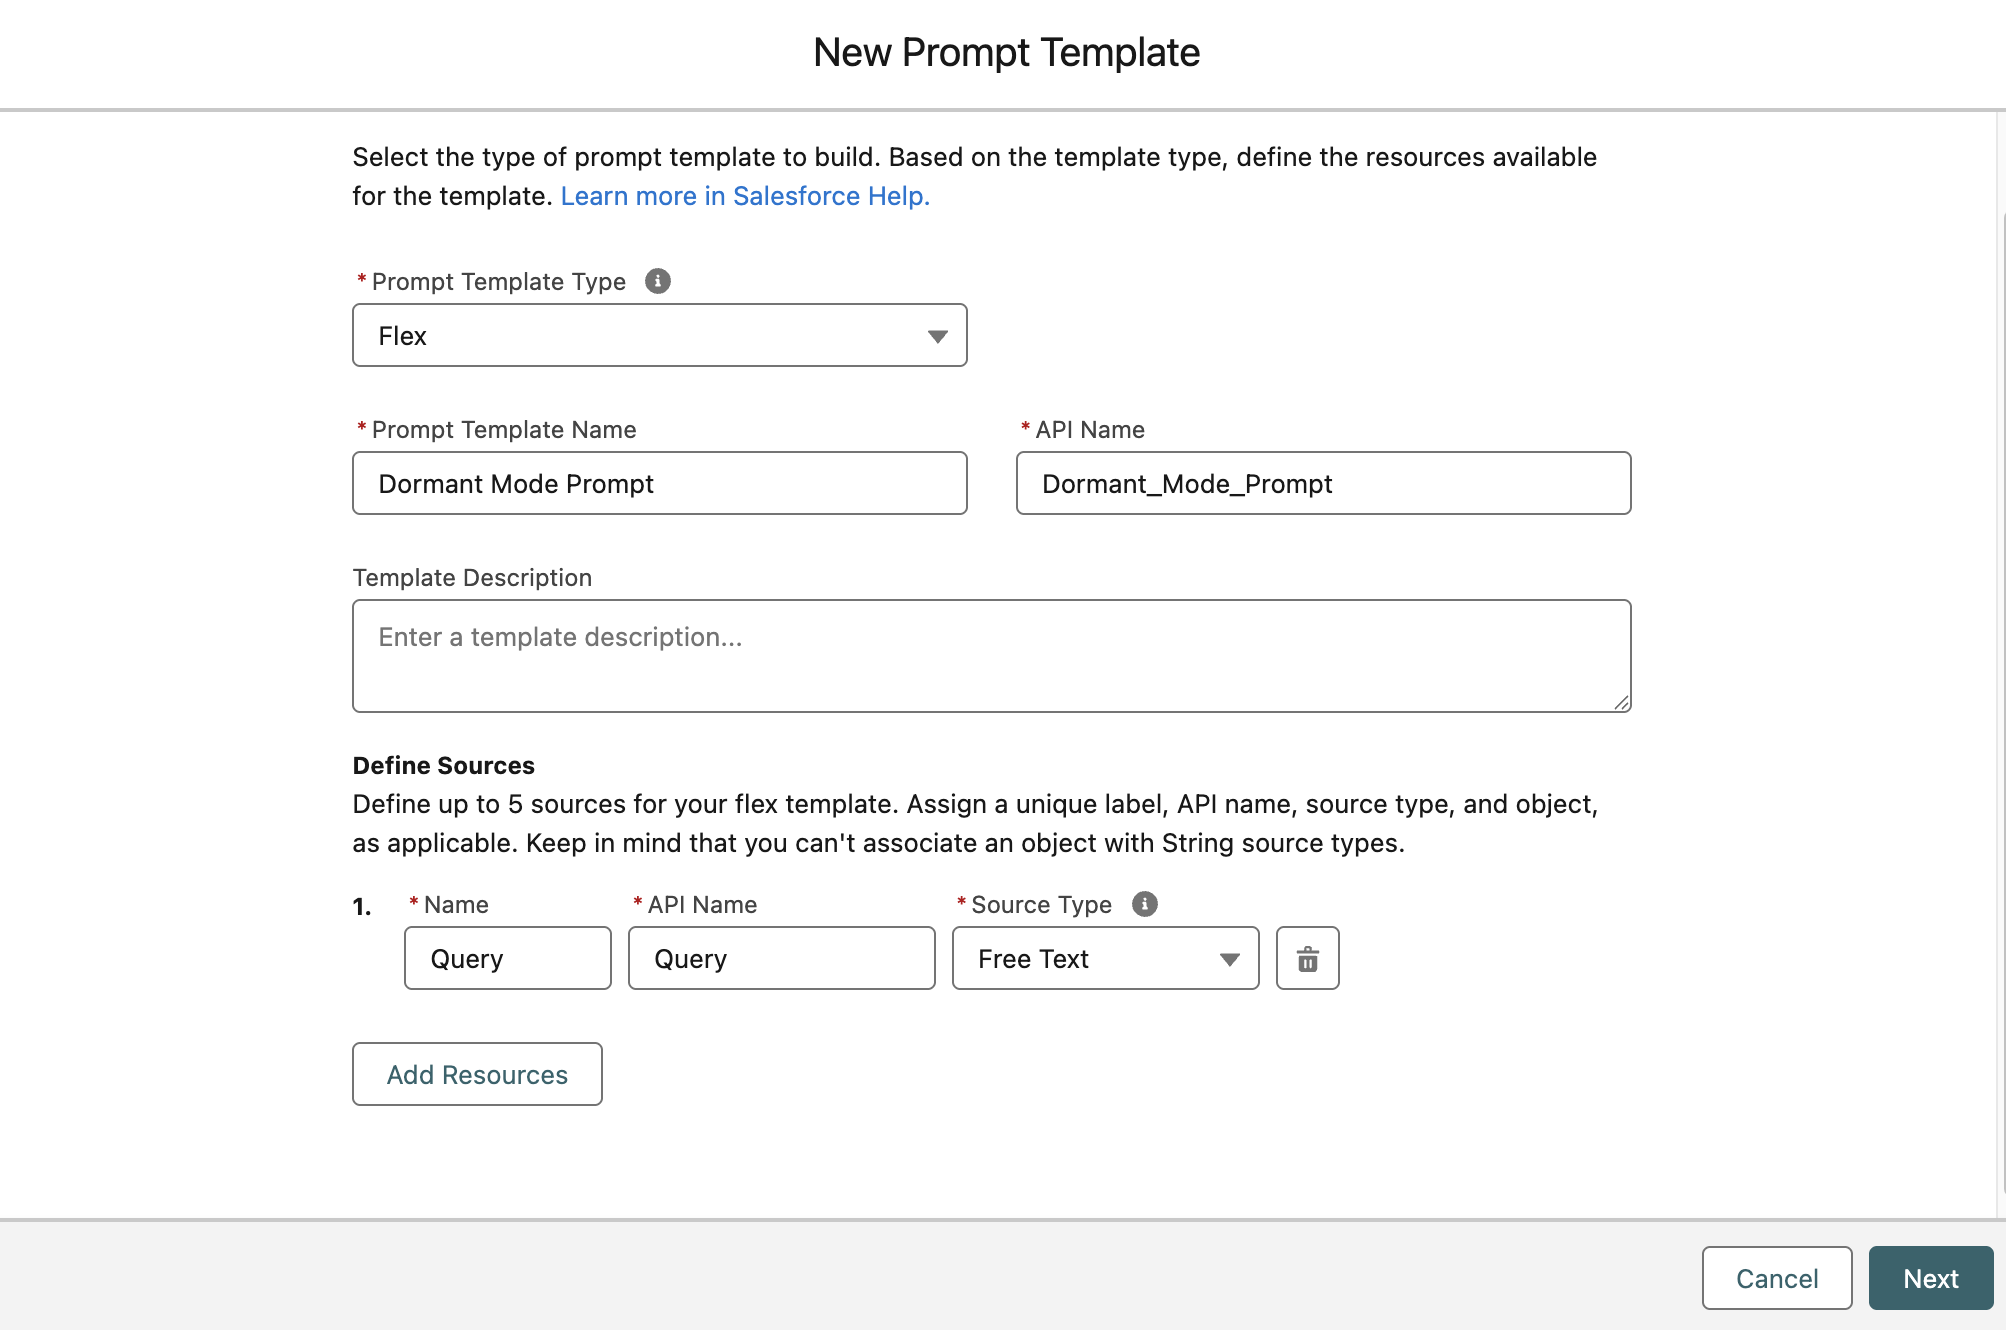
On the next screen, under Prompt Template Type, select Flex.
For Prompt Template Name, enter “Dormant Mode Template”. The API Name will automatically generate when you leave the name field.
Skip past Template Description and under Define Sources, enter the name Query. Again, the API Name should auto-populate.
Under Source Type, select Free Text.
Your settings should match the image below. If they do, click Next.
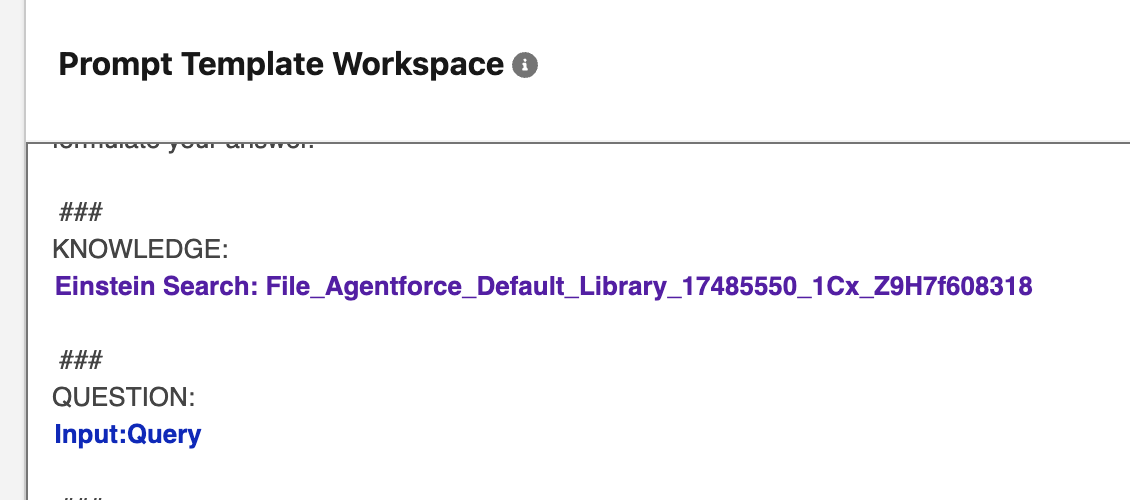
Inside the Prompt Template Workspace, paste the following:
Find the <Retriever< line and delete it while leaving your cursor there.

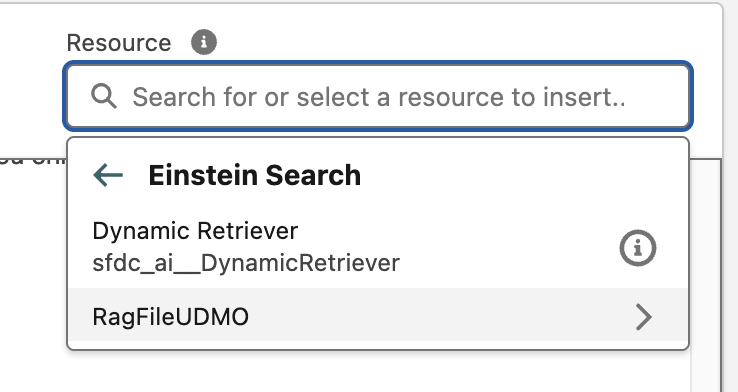
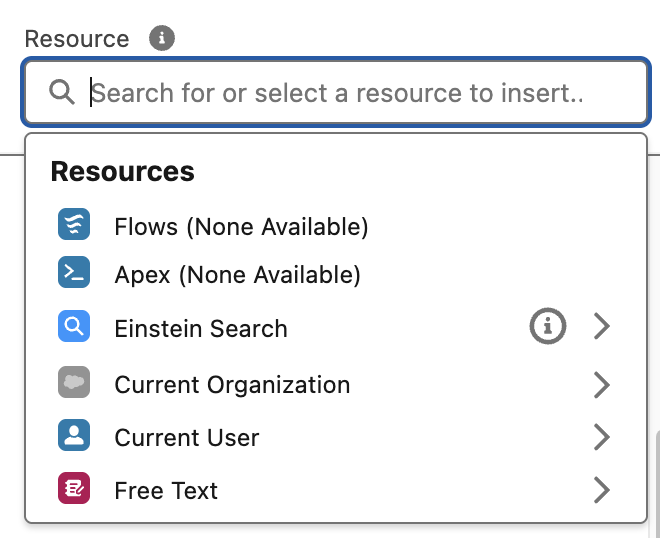
Click into the Resource picker at the top right of this workspace
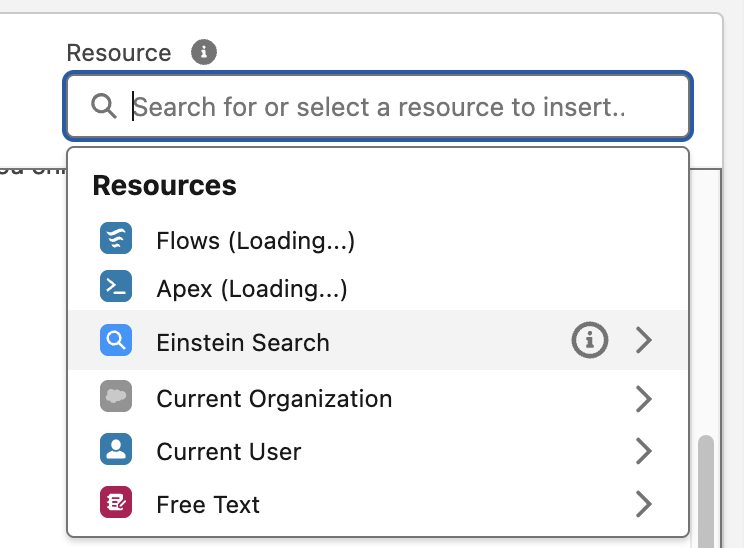
Click Einstein Search and then select RagFileUDMO
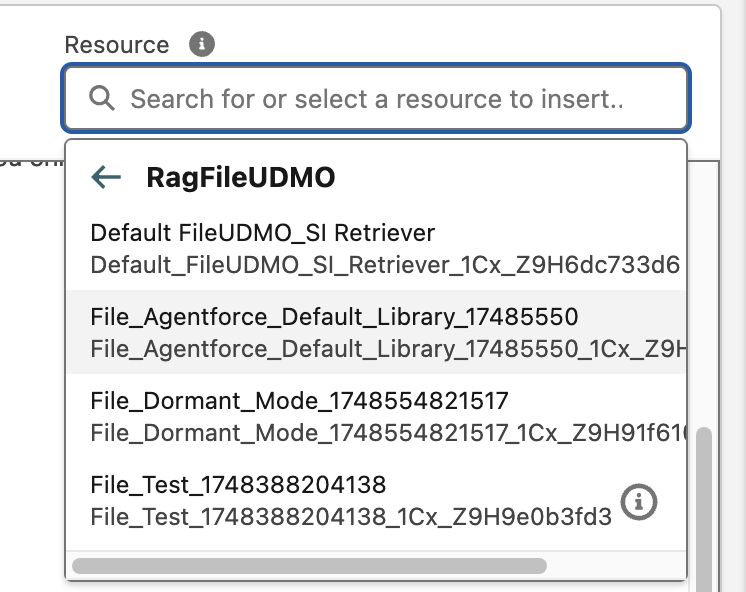
You should see multiple options here, but we’re going to select the one that contains File_Agentforce_Default in the name
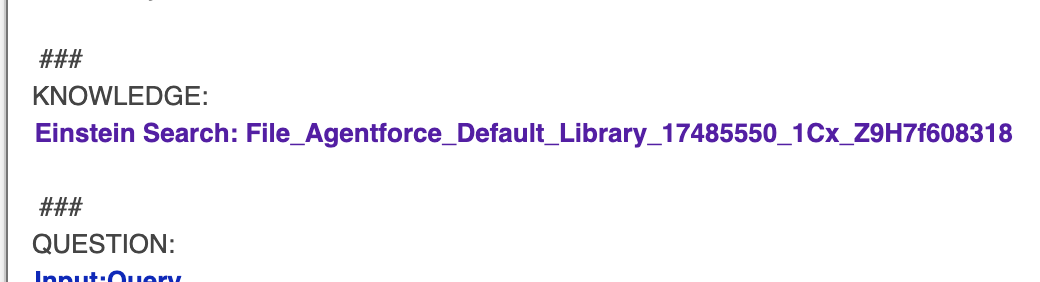
Notice how it was inserted into your existing prompt template
Next, find the <Input< line and delete it while leaving your cursor there.
Again, click into the Resource picker at the top right of this workspace
Click Free Text, and then Query.
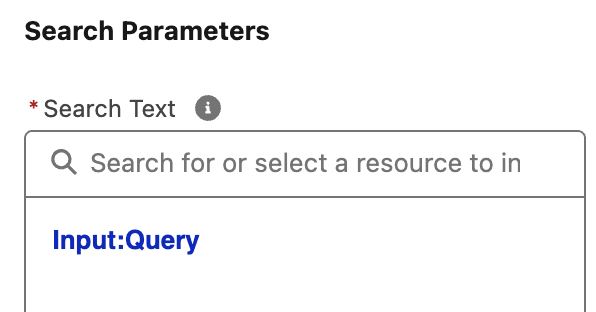
Next, in the Configuration panel on the right side, locate Search Parameters and click the box under Search Text
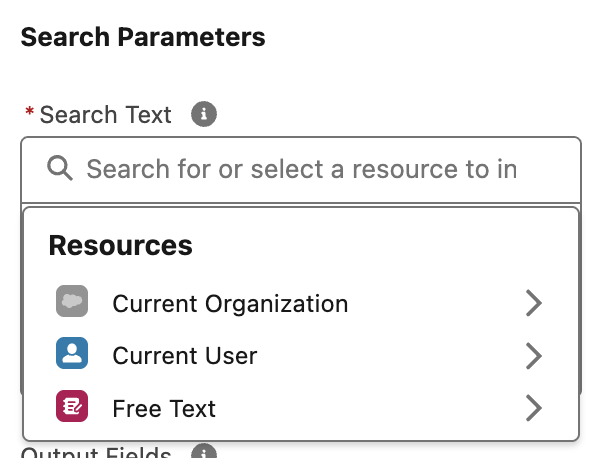
Click Free Text and then select Query.
To the left of that panel, click the Test Inputs button
In the Query field to the right, paste the following: ``` Our hotel is going to be making some renovations soon. How can I pause my services with IDeas?
And now the moment of truth… click Save & Preview
In the Preview pane at the bottom, you can see what was sent to the LLM (Resolution) and what was returned (Response)
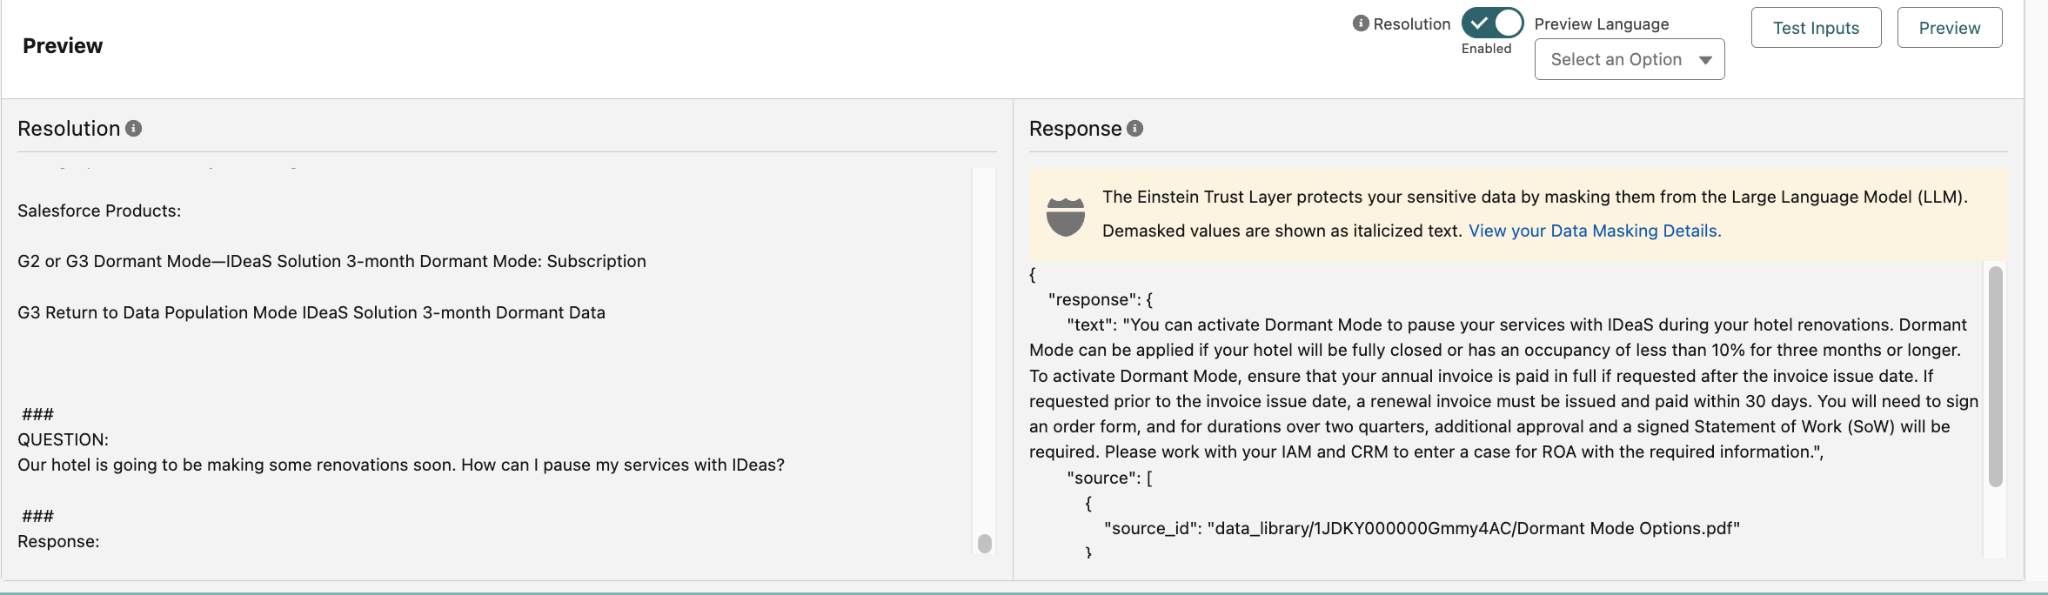
Now instead of saying “I don’t have enough information to provide an answer”, your Agent is able to inform customers about Dormant Mode.
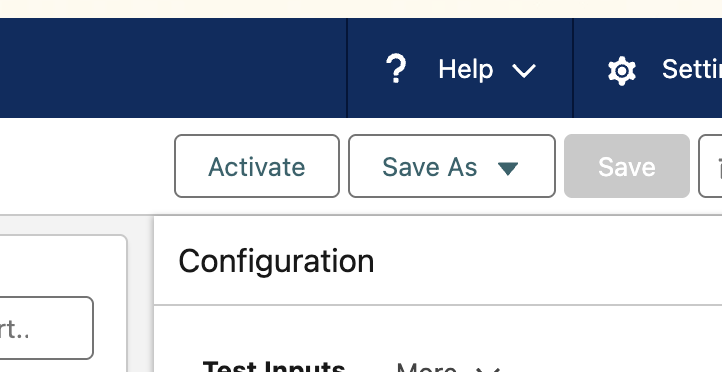
Finally, we need to click Activate at the top right
Additional Info
Step 2: Creating a New Agent Action
Now that we’ve created a new Prompt Template, we have to tie it to an action our Agent can take. Click the back button from Prompt Builder (not the browser back button).
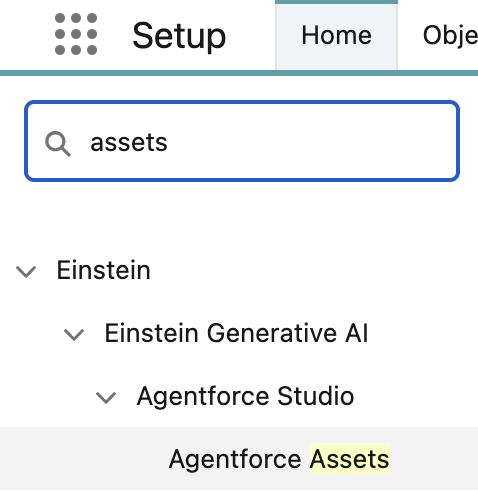
In the Quick Find search box at the top left, type Assets and then click Agentforce Agent Assets.
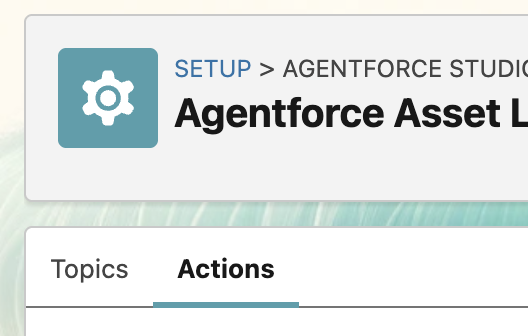
When the page loads, you’ll be presented with the list of Topics that have been preconfigured. Next to the Topics tab, click the Actions tab.
Now you should see a + New Agent Action button at the top right. Click that button.

Under Reference Action Type, select Prompt Template, and then for Reference Action, select Dormant Mode Prompt.
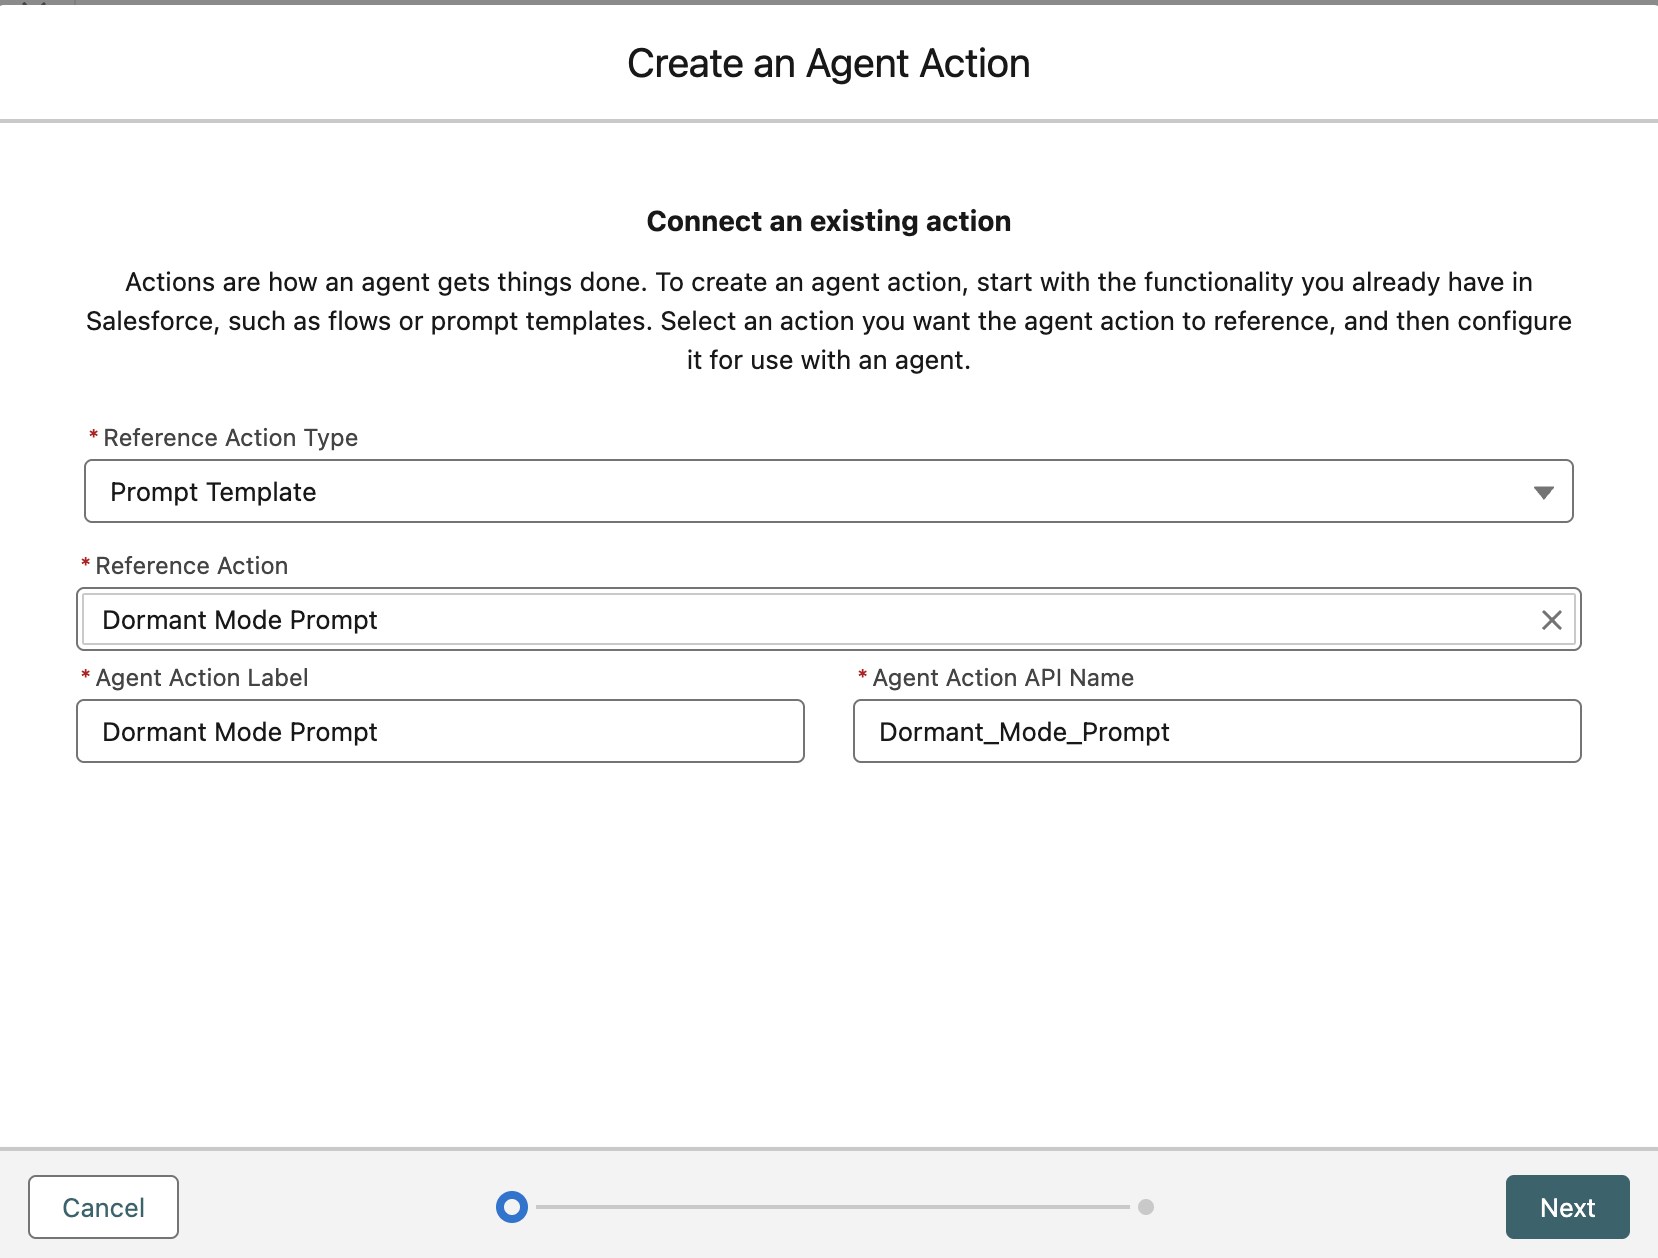
Click Next.
On the next screen, copy this into the Agent Action Instructions field:
Uncheck the Show loading text for this action checkbox NOTE: You can keep this checked and enter text like “Finding your answer…” or something equivalent.
Scrolling down, you’ll see the Input section in the left panel. Find the Instructions box inside the Query pane and paste the following:
Check the box for Collect data from user from within the Query pane.
On the right side, under Outputs, check the Show in conversation box for the Prompt Response only.
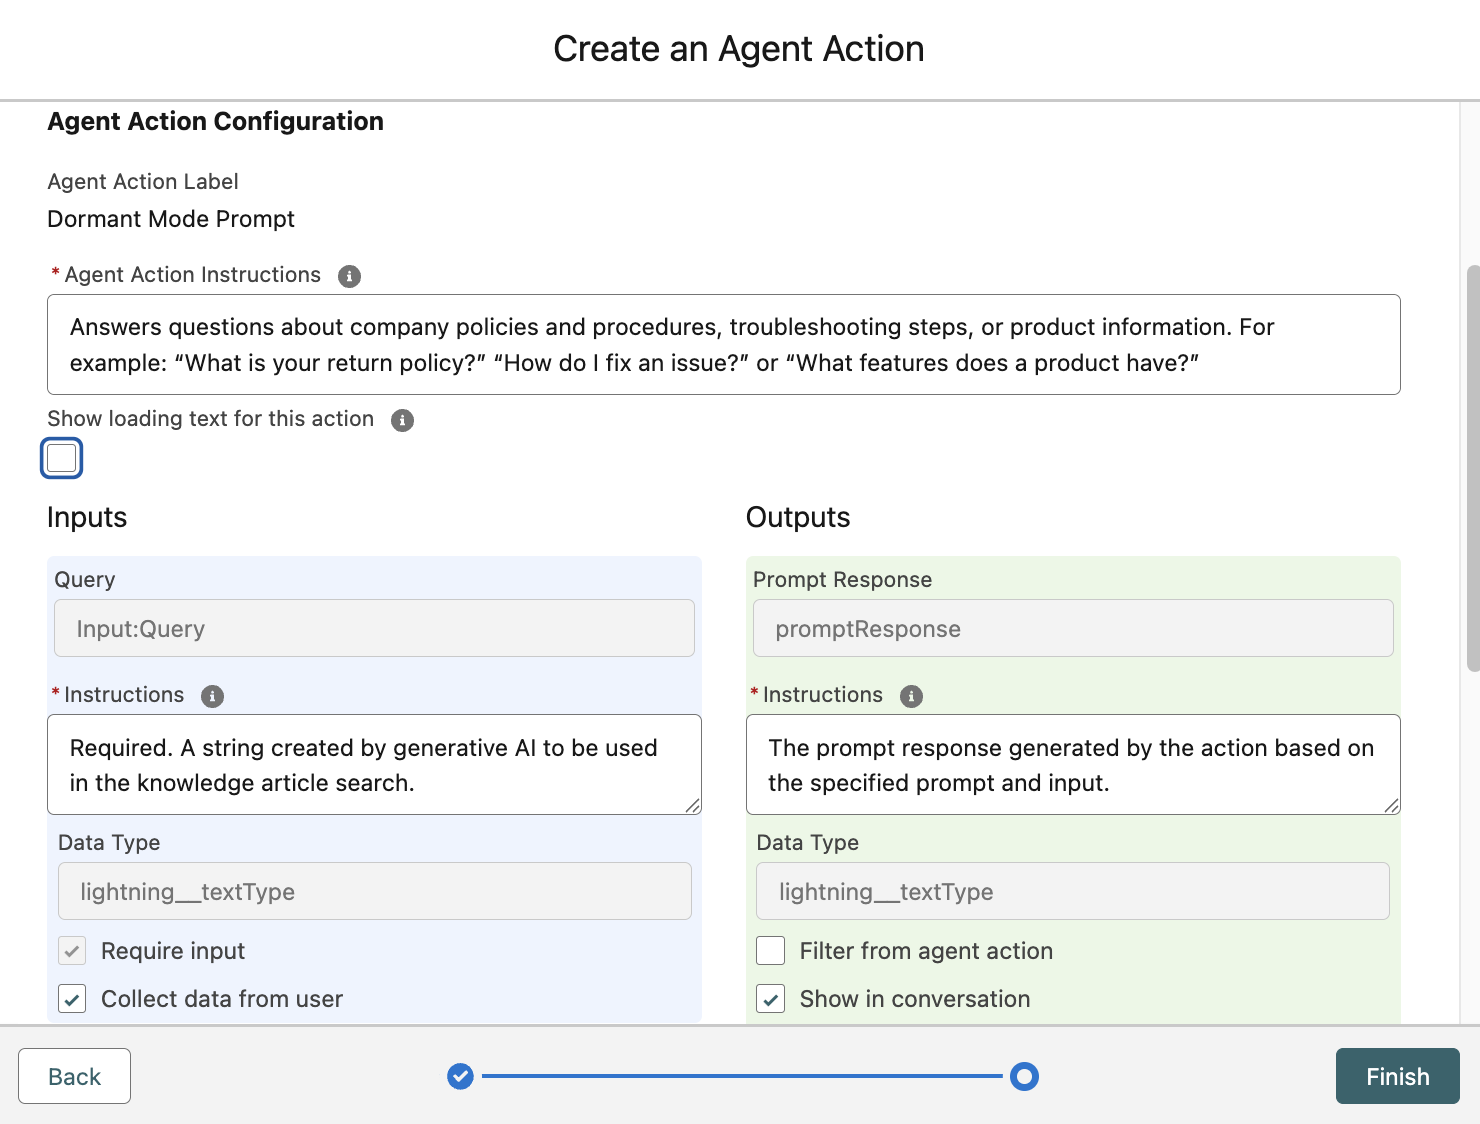
If everything matches the image above, click Finish.
This concludes Exercise 3.