Appearance
Exercise 0: Obtain and Setup your Org
Step 1: Request a Workshop Environment
To get started with this workshop, complete these steps to request a Workshop environment for these Hands-On Exercises.
- Use the link you were provided to access the signup form for this Workshop:
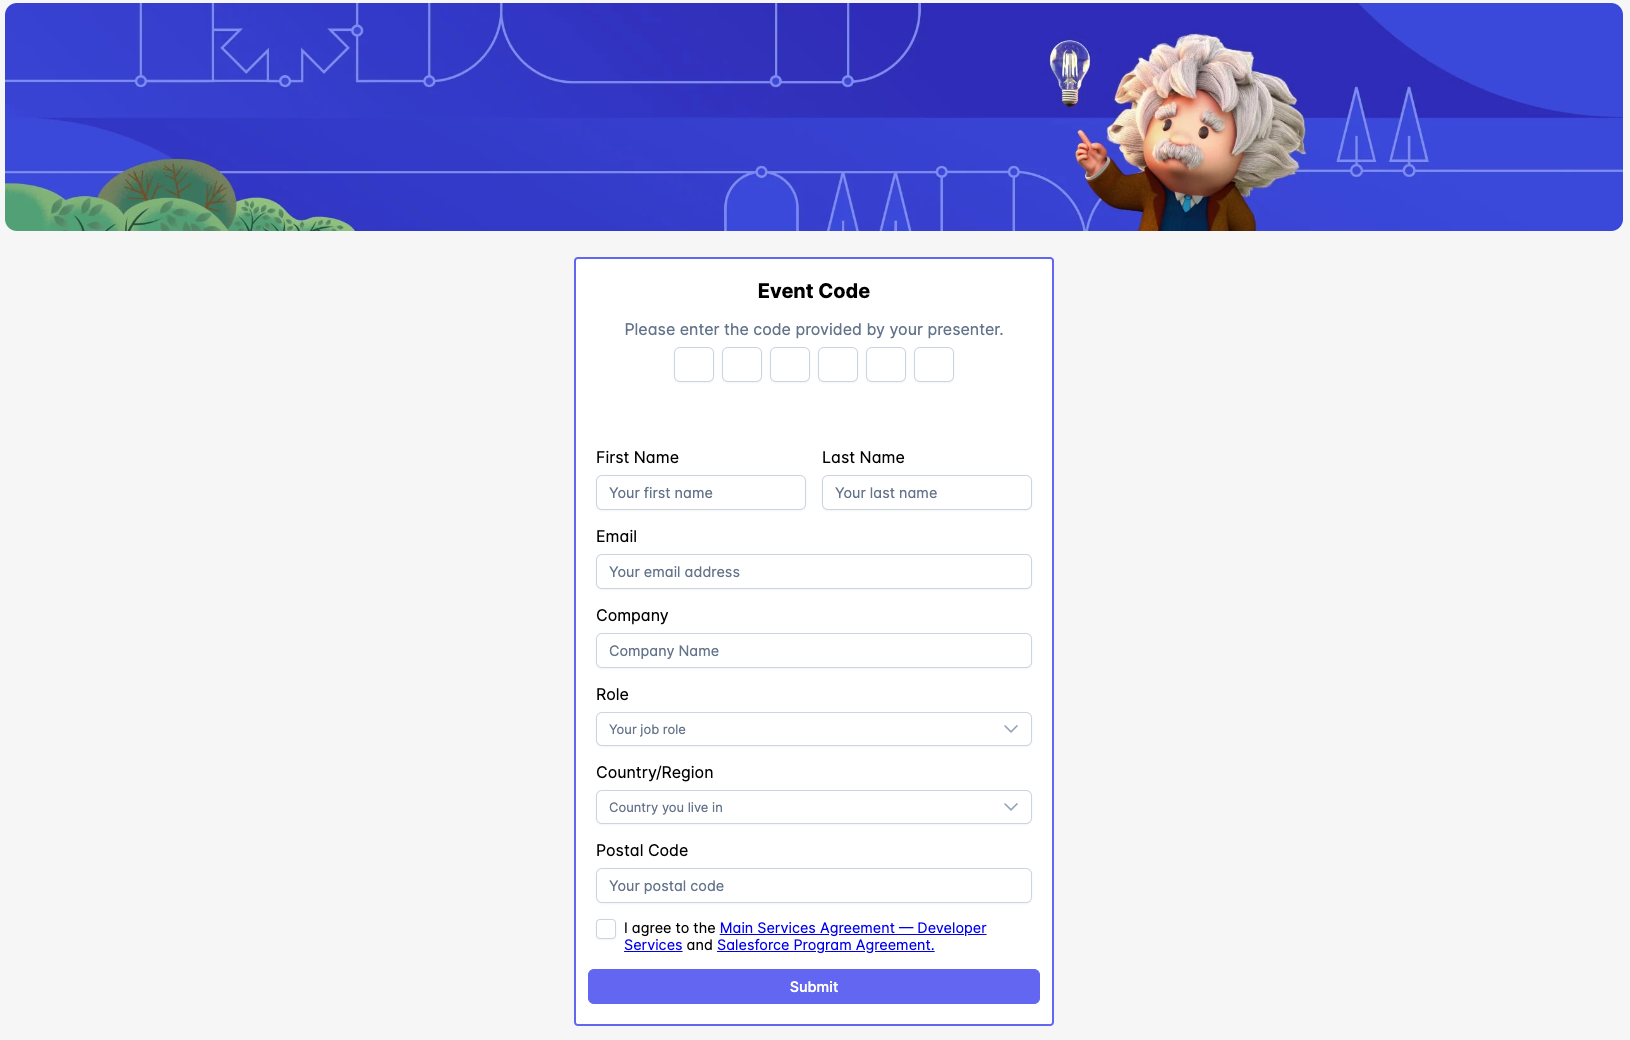
- Complete the form, including the provided Event Code and your email address. Click Submit and the resulting page will contain the login credentials for your workshop environment.

- Make a note of your credentials. Use those credentials to log into your environment at login.salesforce.com.
- Once logged-in, you should find yourself on the home page in the Data Cloud App. This summarizes the current configuration, including Data Streams, Segments, and Activations. You can also customize this page using Lightning App Builder.
Step 2: Turn on Einstein
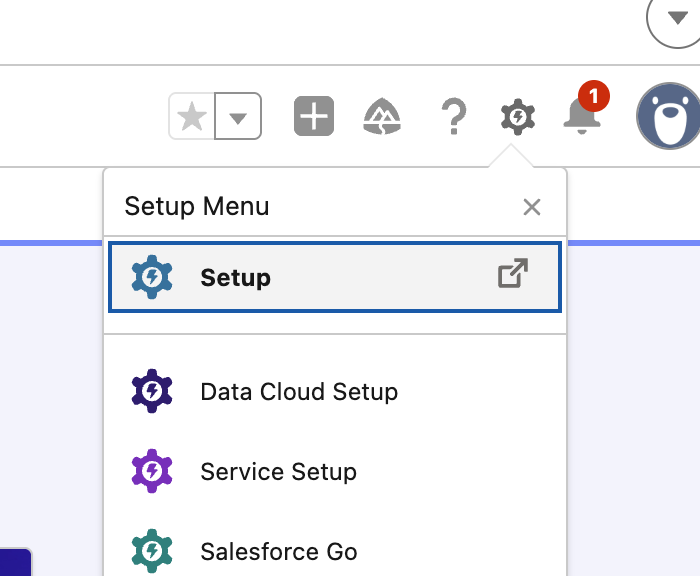
At the top right, locate the gear icon then click Setup.
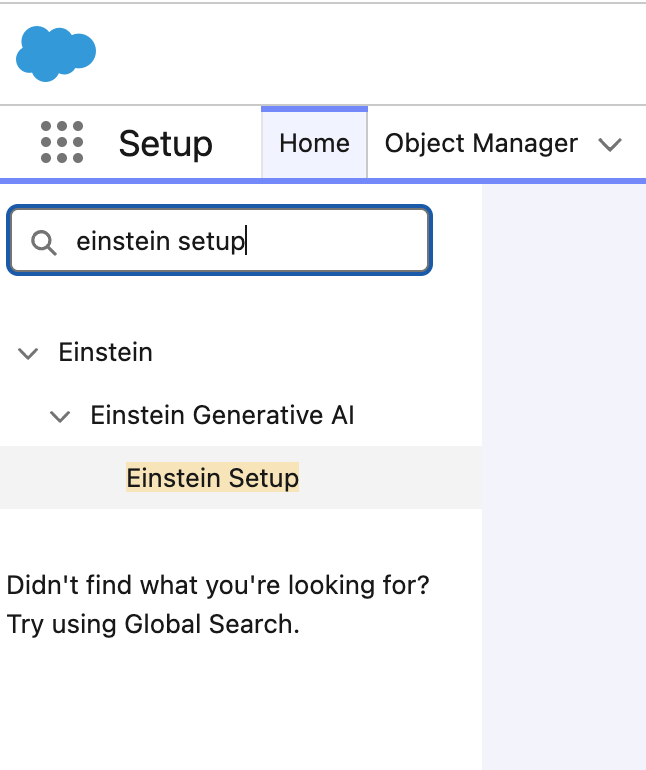
From Setup, search for Einstein Setup, then click Einstein Setup.
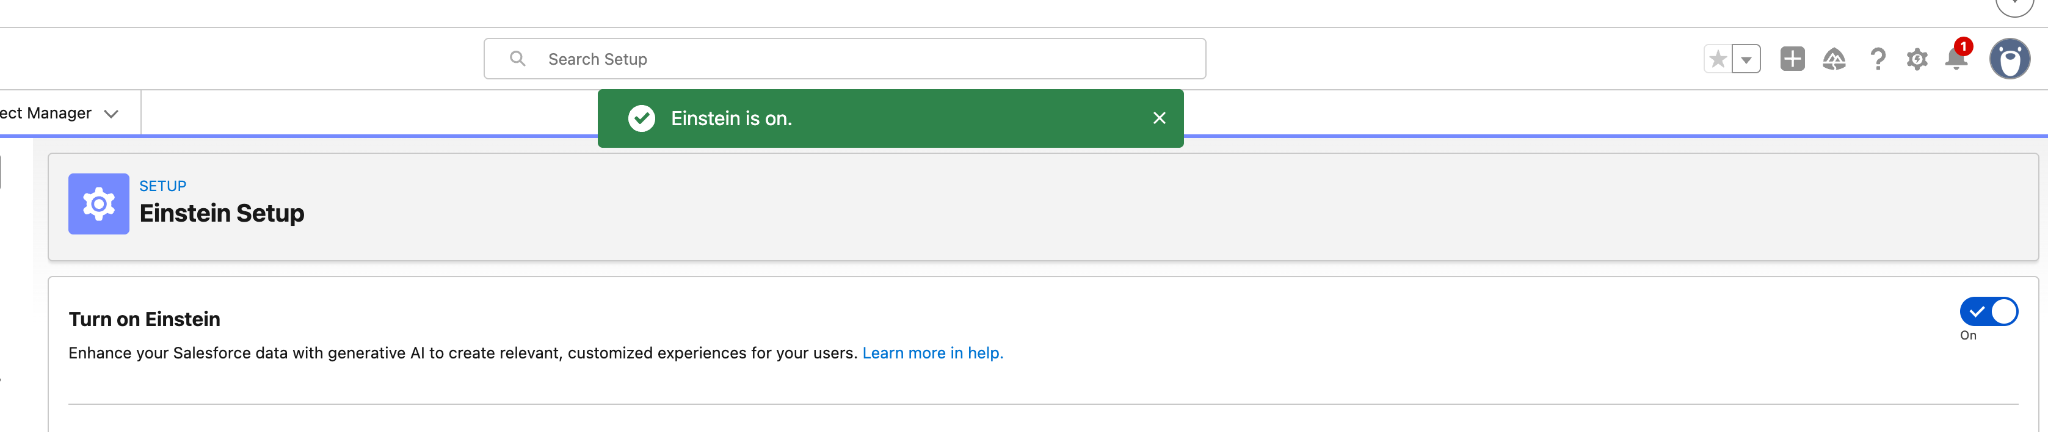
On the next screen, locate Turn on Einstein and then flip the flag at the right from Off to On. If this is already on, skip this step.
Step 3: Turn on Agentforce
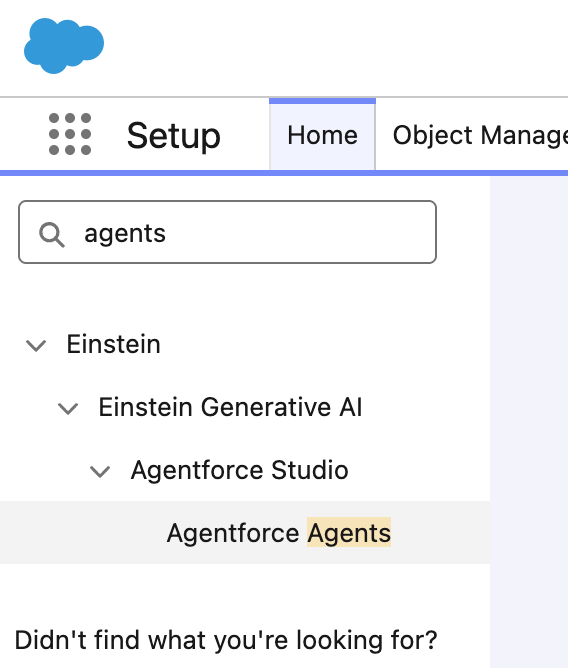
From Setup, search for Agents then click Agentforce Agents.
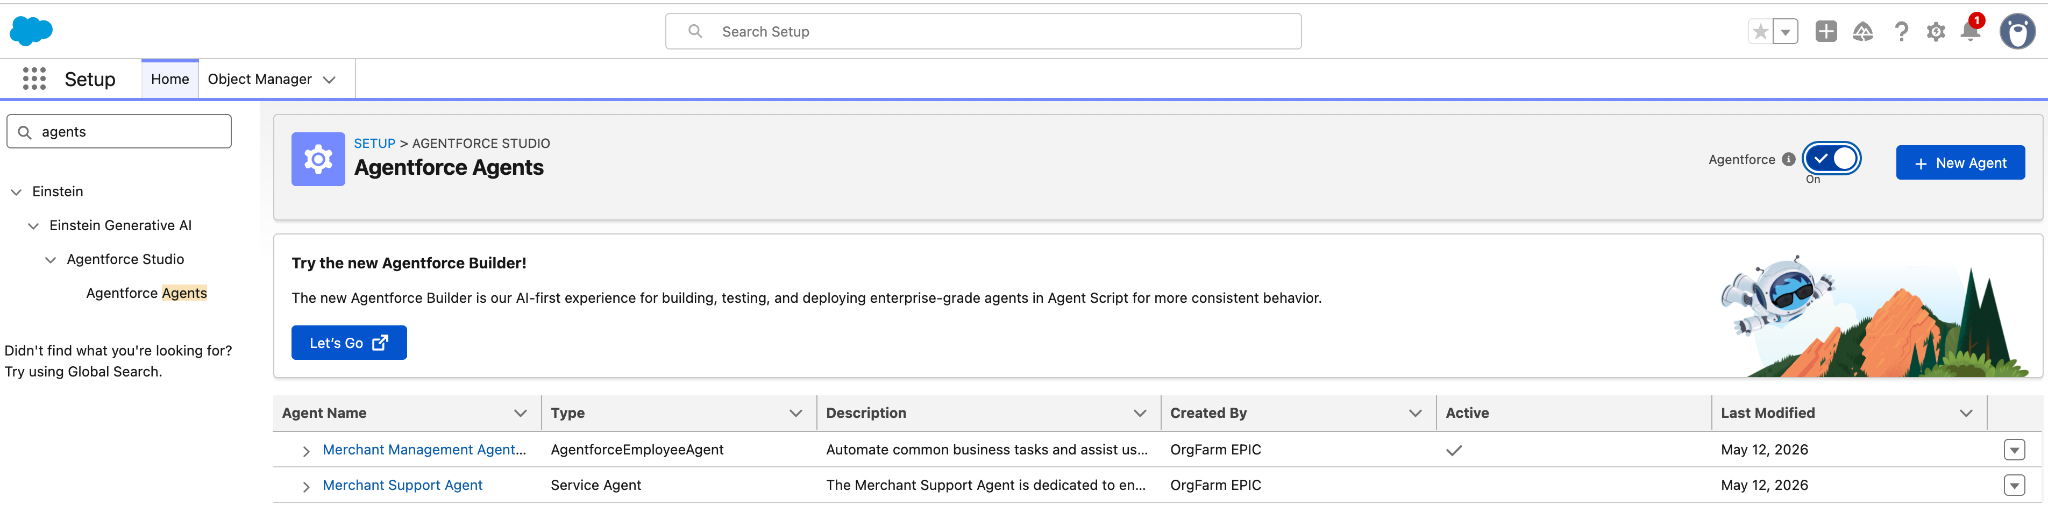
Locate the Agentforce flag on the right side of the screen and flip it from Off to On. If this is already On, skip this step.
Step 4: Setup Data Library
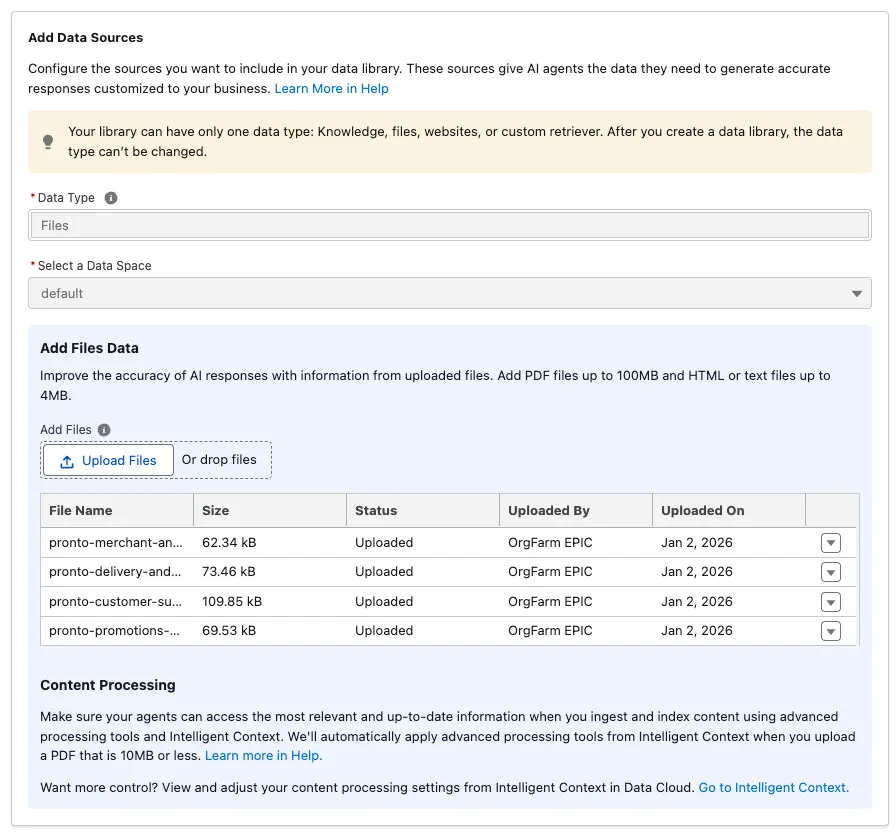
In this exercise, you’ll ingest Pronto support documentation (PDFs) so it can be searched and used for grounding later in the chapter.
You’ll upload these PDFs:
- pronto-customer-support-playbook.pdf
- pronto-delivery-and-order-lifecycle-faq.pdf
- pronto-promotions-membership-and-gift-certificates-terms.pdf
- pronto-merchant-and-storefront-standards.pdf
You’ll create an Einstein Data Library and a Search Retriever so later prompts and agents can retrieve relevant chunks for grounding.
- In Setup, search for Data Libraries and select Agentforce Data Libraries.
- Click the New Library + button on the right.
- Enter the following values:
| Field | Value |
|---|---|
| Name | Pronto Customer Support |
| API Name | Keep default |
| Description | Customer support policies, FAQs, and terms for Pronto. |
- Click Save.
- For Data type, select Files.
TIP
Data Libraries support multiple source types:- Files: Ingest documents like PDFs and index them for retrieval (best for playbooks, policies, FAQs).
- Knowledge: Index Salesforce Knowledge articles so retrieval can ground answers in your Knowledge base.
- Web: Crawl and index website pages (for example, a help center) to ground answers in published web content.
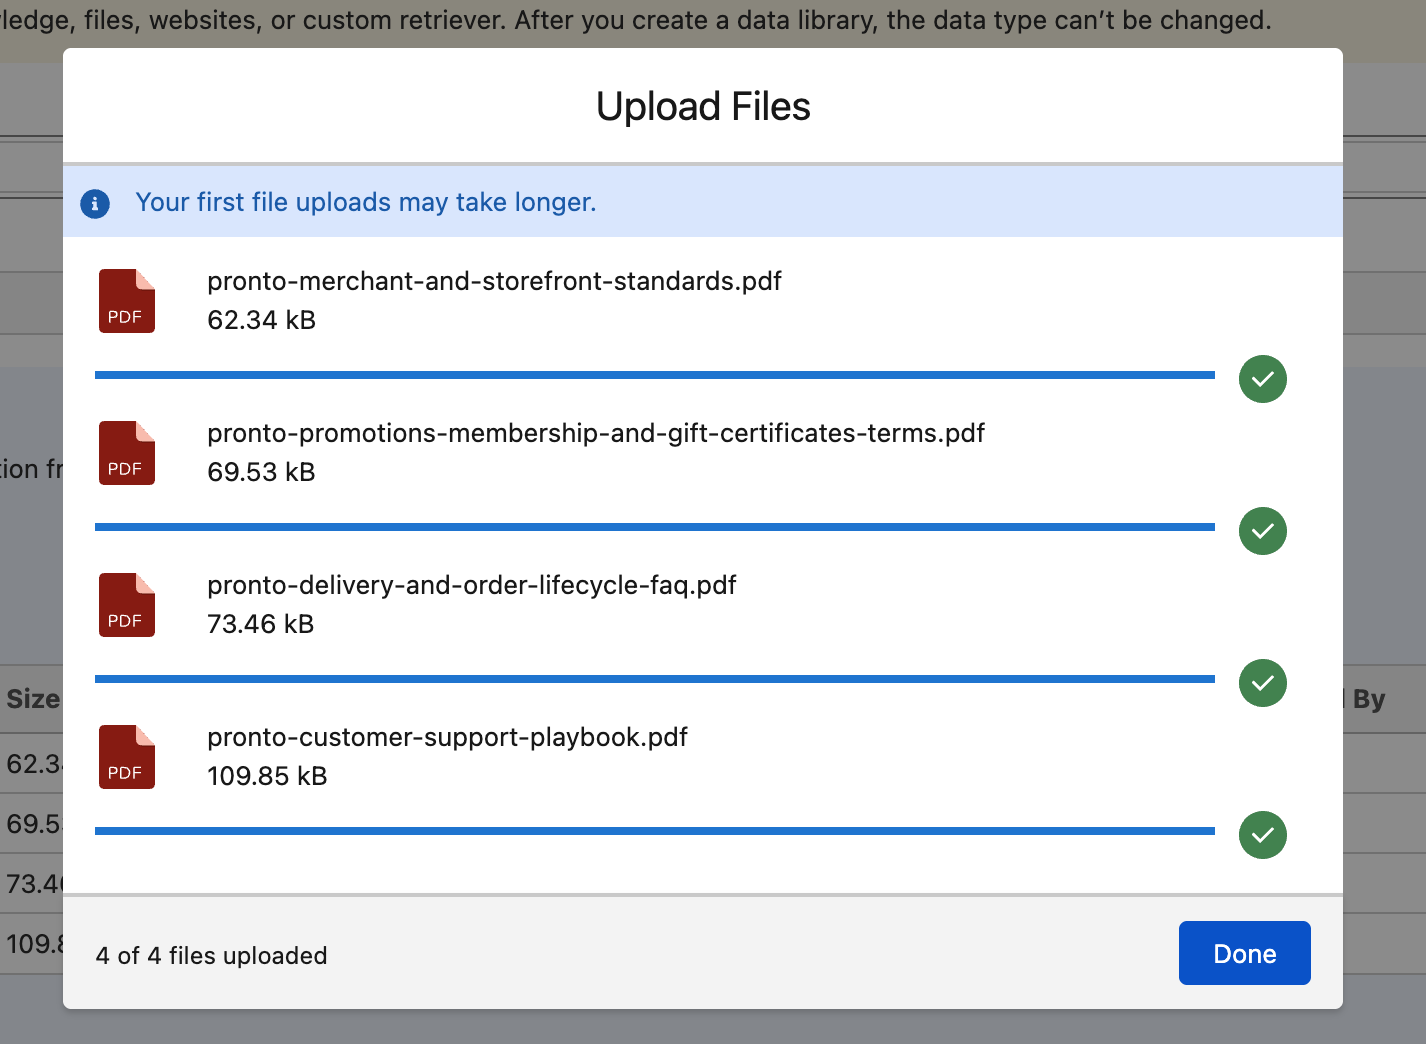
- Click Select Files... and select the 4 downloaded Pronto PDFs:
- pronto-customer-support-playbook.pdf
- pronto-delivery-and-order-lifecycle-faq.pdf
- pronto-promotions-membership-and-gift-certificates-terms.pdf
- pronto-merchant-and-storefront-standards.pdf
- Once selected click Upload.
- The files may take a minute or two to upload. Once you see green check boxes, click Done.
TIP
This screen can occasionally throw an error after uploading files. If it does, refresh the page to confirm whether your file upload was successful.